

Description
What our Pushing and Pulling lesson plan includes
Lesson Objectives and Overview: Pushing and Pulling introduces students to these physics concepts. Students will learn to define what force is and identify the difference between pushing and pulling. They will also be able to provide examples of each action. This lesson is for students in 1st grade, 2nd grade, and 3rd grade.
Classroom Procedure
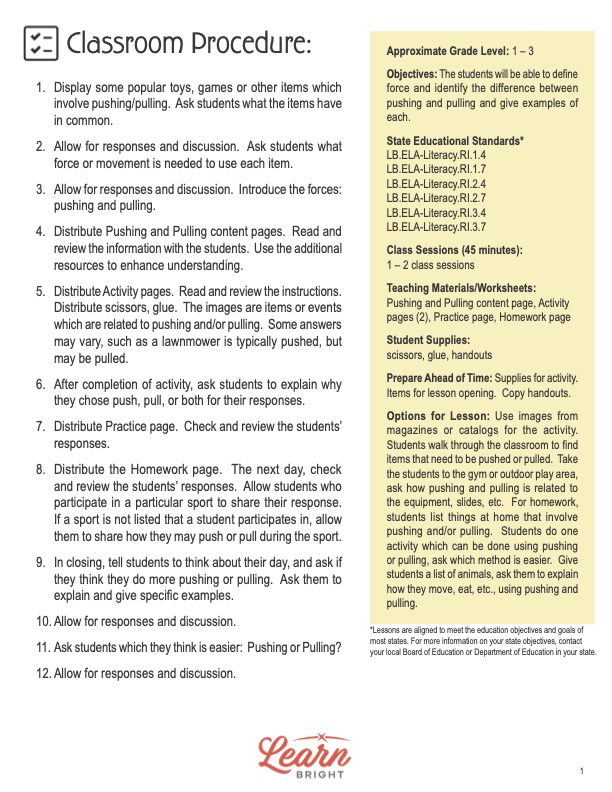
Every lesson plan provides you with a classroom procedure page that outlines a step-by-step guide to follow. You do not have to follow the guide exactly. The guide helps you organize the lesson and details when to hand out worksheets. It also lists information in the yellow box that you might find useful. You will find the lesson objectives, state standards, and number of class sessions the lesson should take to complete in this area. In addition, it describes the supplies you will need as well as what and how you need to prepare beforehand. The activity for this lesson requires scissors and glue or tape. For the lesson opening, you will also want to gather popular toys, games, and other items that involve pushing/pulling.
Options for Lesson
There are suggestions in the “Options for Lesson” section of the classroom procedure page for additional activities or ideas. For the activity, you could use images from magazines or catalogs. Students could walk through the classroom to find items that they have to either push or pull to move. Another idea is to take the students to the gym or an outdoor play area. Ask how pushing and pulling is related to the equipment, slides, and more. As an additional homework assignment, you could have students list things at home that involve pushing and pulling. Students could also do an action involving pushing and then an action involving pulling; you can then ask them which method was easier. One final options is to give students a list of animals and ask them to explain how the animals move, eat, and so on using pushing and pulling.
Teacher Notes
The paragraph on this page provides a little more information or guidance on what to expect from the lesson. It explains that this lesson will assist students in understanding other concepts related to physics. In addition, it recommends that you provide ample time for hands-on activities to reinforce the lesson. You can use the blank lines to record any thoughts or ideas you have as you prepare.
PUSHING AND PULLING LESSON PLAN CONTENT PAGES
What Is Pushing and Pulling?
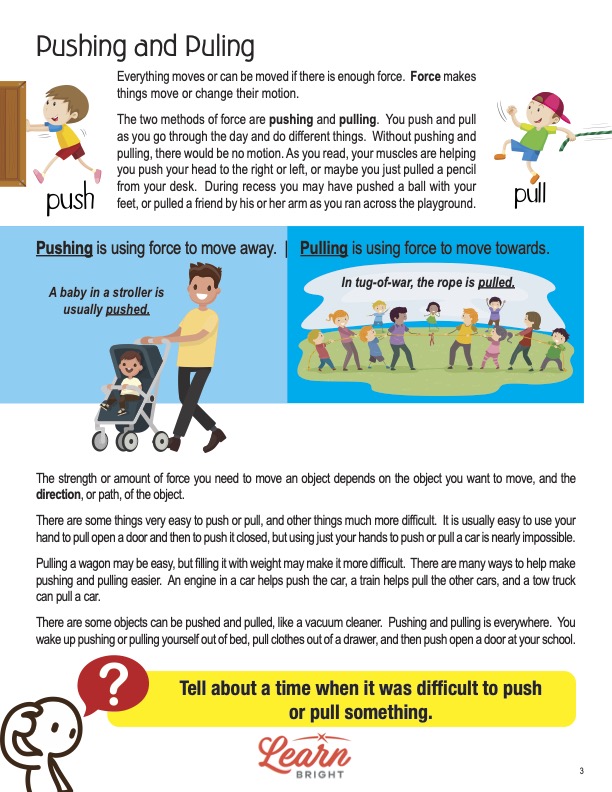
The Pushing and Pulling lesson plan contains one content page. To start off, the lesson explains that everything moves, or can be moved, if there is enough force. Force is what makes things move or change their motion in some way. The two methods of force are pushing and pulling.
People push and pull various things throughout the day. Without these two actions, there would be no motion. The lesson mentions that even as the students read, their muscles help them push their head to the right or left. Perhaps they just pulled their pencil from their desk. And during recess, they may have pushed a ball with their feet or pulled a friend’s arm as they ran across the playground.
Pushing is an action in which a person uses force to move something away. For example, someone pushing a stroller is using force to move the object away from them (even if they follow behind). Pulling is using force to move toward something. The game of tug-of-war is a great example. Two teams both try to pull the rope so that the ribbon in the middle comes closer toward them.
Moving Directions
Students will next learn that they must exert a certain amount of strength to move something. The amount of strength necessary depends on the object they want to move and the direction, or path, of the object. Some things are very easy to push or pull while others are far more difficult. It is usually easy to use our hands to pull open a door or push it closed. But the same is not true if we tried to use just our hands to push or pull a car.
Pulling a wagon can be easy, but putting a bunch of stuff inside the wagon to add weight would make it more difficult. There are, however, many ways to make pushing and pulling easier to do. An engine in a car helps push it forward or backward. A tow truck can pull a car using the machinery attached on the back.
There are some objects that we can both push or pull. A vacuum cleaner is a great example. When we vacuum, we push the machine forward and pull it back. The actions of pushing and pulling are everywhere. We wake up doing these actions just to get out of bed, put clothes on, and get into the school!
PUSHING AND PULLING LESSON PLAN WORKSHEETS
The Pushing and Pulling lesson plan includes three worksheets: an activity worksheet, a practice worksheet, and a homework assignment. Each one will reinforce students’ comprehension of lesson material in different ways and help them demonstrate when they learned. Use the guidelines on the classroom procedure page to determine when to distribute each worksheet to the class.
CUT AND PASTE ACTIVITY WORKSHEET
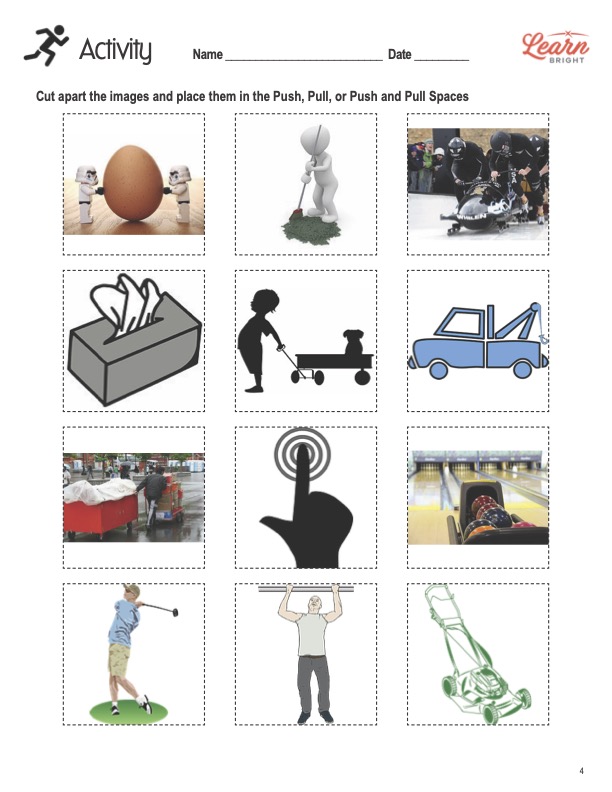
The activity requires students to review 12 pictures. Students will cut out all the pictures and sort them into three piles. One pile will be for pictures that represent pushing actions. Another is for pictures that represent pulling actions. The last one is for pictures that represent both pulling and pushing actions. Students will then glue or tape the pictures onto the second worksheet page under the correct label.
PUSHING AND PULLING PRACTICE WORKSHEET
For the practice worksheet, students will review 11 questions regarding the information they learned about force and motion. The question format varies from “True or False” to multiple choice. You can choose whether or not you allow students to use the content page for help.
SPORTS TIME HOMEWORK ASSIGNMENT
Students will apply what they learned about pushing and pulling to sports. The homework assignment requires students to explain how people might use each force in several types of sports.
Worksheet Answer Keys
The are answer keys for the three worksheet pages at the end of the lesson plan document. For the activity, the answer key displays where each picture belongs among the three categories. The practice and homework worksheets provide correct answers in red to make it easy for you to compare them with students’ responses. The nature of the homework assignment and the final practice question will yield varied responses, so keep that in mind as you correct them. If you choose to administer the lesson pages to your students via PDF, you will need to save a new file that omits these pages. Otherwise, you can simply print out the applicable pages and keep these as reference for yourself when grading assignments.


