


Description
What our How to Use a Microscope lesson plan includes
Lesson Objectives and Overview: How to Use a Microscope teaches students about the proper care, maintenance, and use of this piece of equipment. Students will learn how to create three types of side mounts. They will also have the chance to test their knowledge in hands-on experiments. This lesson is for students in 3rd grade and 4th grade.
Classroom Procedure
Every lesson plan provides you with a classroom procedure page that outlines a step-by-step guide to follow. You do not have to follow the guide exactly. The guide helps you organize the lesson and details when to hand out worksheets. It also lists information in the yellow box that you might find useful. You will find the lesson objectives, state standards, and number of class sessions the lesson should take to complete in this area. In addition, it describes the supplies you will need as well as what and how you need to prepare beforehand. The supplies you need to provide for the activity are threads from at least four types of fabric, glass slides, tweezers, scissors, water, and droppers. In addition, you need to obtain salt, sugar, slides, water, droppers, and cover slips for the practice worksheet.
Options for Lesson
The “Options for Lesson” section of the classroom procedure page offers a number of suggestions for additional ideas and activities to incorporate into the lesson. This lesson provides one option that relates to the practice worksheet. Add in different spices for students to investigate in addition to the sugar and salt. Students will observe these substances and answer some questions. How do the spices look different from salt and sugar? Which spices look similar and which ones do not? You can write a list on the board of various characteristics. Students could fill in the chart as they look closer at each spice. You could also do this with multiple other foods or leaves from herbs. Feel free to get creative here.
Teacher Notes
The paragraph on this page gives you a little more information on the lesson overall and describes the things on which you may want to focus your teaching. The blank lines are available for you to write out any thoughts or ideas you have as you prepare.
HOW TO USE A MICROSCOPE LESSON PLAN CONTENT PAGES
Using the Light Microscope
The How to Use a Microscope lesson plan has three pages of content. Students will first discover what a microscope actually is and that there are several types. Scientists use different tools to explore the world around them. When certain things are too small to see with just their eyes, they have to use magnifying tools to make the object larger. One of these tools is the microscope.
Microscopes magnify things that are incredibly tiny. Some have one lens, and others have two or more lenses that work together to enlarge various objects. There are several types of microscopes: light, binocular, digital, and stereomicroscopes. Monocular (one lens) light microscopes are the most common of the four. It uses white or visible light to help view objects through the lens.
To use it, there are certain steps we have to follow. First, we must plug it in, because it uses electricity to work. Next we have to turn the revolving nosepiece so that the lowest lens is in position. After placing a slide in the center of the stage area, we would secure it in place using the metal clips.
The next step is to look through the light piece and slowly rotate the adjustment knob so that the slide comes into focus. Then we would move to the medium view and readjust the knob to bring it again into focus. Finally, we must again rotate to the high-power view lens and refocus with the adjustable knob.
How to Make a Slide
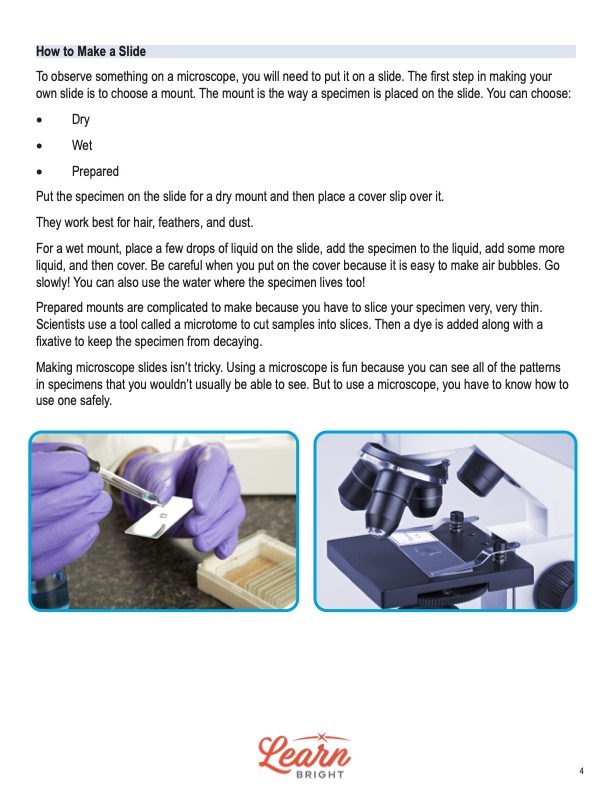
Students will next learn about making slides. To observe something on a microscope, we have to make a slide to put below the lens. The first step in making a slide is choosing a mount. The mount is the way a specimen is placed on the slide. It can be either dry, wet, or prepared.
Dry mounts work best for things like hair, feathers, and dust. To make a dry mount, we must put the specimen on the slide and place a cover slip on top. For wet mounts, we have to place a few drops of liquid on the slide first and then add the specimen to the liquid. After adding a few more drops of liquid, we can cover it with a cover slip. This requires care since wet mounts need to be void of any air bubbles.
Prepared mounts are the most complicated to make since we would have to slice the specimen very, very thin. Scientists use a tool called a microtome to slice their samples. Once they have their specimen slice, they add a dye along with a fixative to keep the specimen from decaying.
Making microscope slides isn’t tricky. And using the microscope can be fun since we can see all the patterns in specimens that we normally wouldn’t be able to see. However, it is still very important to know how to use a microscope safely.
Microscope Safety
The lesson outlines several guidelines to help students be safe when handling and using a microscope. First and foremost, they need to carry the instrument properly. One hand goes on the bottom, and one hand hold the “arm” of the microscope. Students should also remember to always turn off the light source when they aren’t using it.
They should also be careful with the glass slides since they can easily cut if broken. There can also be chemicals on the slides that shouldn’t touch the skin. Additionally, students should not touch the lenses of the microscope and should keep it clean, especially the eyepiece. They should store the instruments on the lowest setting and keep them covered when not in use.
Microscopes allow people to see the world differently. The lesson asks students what fun things they might find to see. It shows a picture of a piece of lung tissue blood vessels. Then it provides a few blank lines on which students can write their own list of objects or specimen they want to be able to see with a microscope.
HOW TO USE A MICROSCOPE LESSON PLAN WORKSHEETS
The How to Use a Microscope lesson plan includes three worksheets: an activity worksheet, a practice worksheet, and a homework assignment. These worksheets will help students demonstrate what they learned throughout the lesson and reinforce the lesson concepts. The guide on the classroom procedure page outlines when to hand out each worksheet to your students.
FABRICS ACTIVITY WORKSHEET
For the activity, students will gather the various supplies they need. Using a dropper, they will place one drop of water on a slide. Then they will place a few threads of fabric on the side in the water. They will need to place cover slips on the slides, but they need to ensure there are no air bubbles. Finally, they will mount the slide on the microscope and observe.
The worksheet provides four boxes that contain a line to record the type of fabric and an empty circle. The circles are there so students can sketch what the fabrics look like beneath the microscope. At the bottom of the worksheet, there are two questions that students will answer regarding the similarities and differences among the four fabrics.
SUGAR AND SALT PRACTICE WORKSHEET
The practice worksheet requires students to use a microscope to see the difference between salt and sugar. They will first place salt on a slide and place it beneath the microscope. Then they will draw a picture of what the salt looks like up close. On another slide, they will place a drop of water and some salt on the slide. After putting a cover slip on top and placing the slide under the microscope, they will sketch what they see.
Students will repeat this same process for the sugar. One slide will have dry sugar and the other will have water. After drawing pictures of these two mounts, they will respond to the prompts at the bottom of the page. These questions ask students to explain the differences between the crystals and the colors.
HOW TO USE A MICROSCOPE HOMEWORK ASSIGNMENT
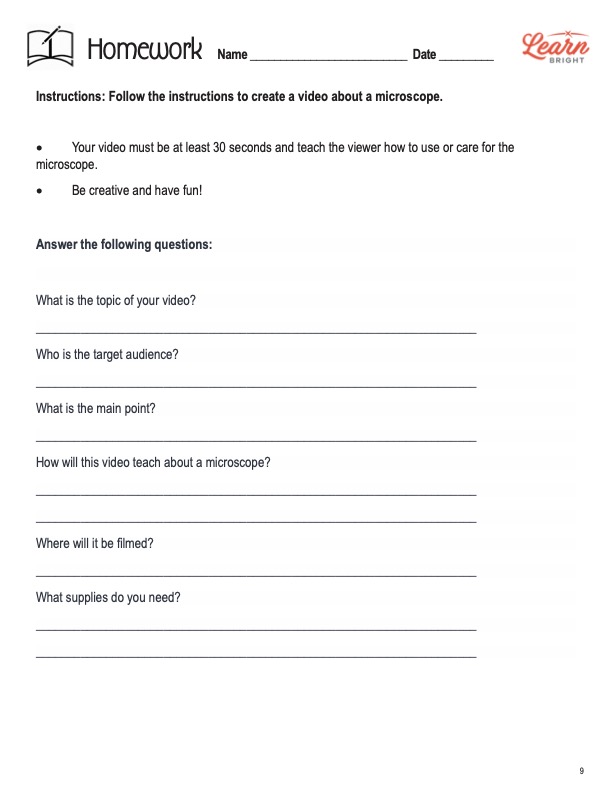
Students will get to create a video for the homework assignment. Their videos should be at least 30 seconds long and instruct viewers how to use or care of a microscope. The page lists several questions that students should answer about the video, such as where they will film it and what supplies they will use.
Worksheet Answer Keys
The practice and homework assignments also have answer keys. Students’ answers on the practice worksheet may vary a little. The answer key provides sample answers for the two prompts on the bottom of the page. Given the nature of the homework assignment, students’ responses will all vary. Ensure their videos accurately portray using or caring for microscopes. If you choose to administer the lesson pages to your students via PDF, you will need to save a new file that omits these pages. Otherwise, you can simply print out the applicable pages and keep these as reference for yourself when grading assignments.


