

Description
What our Daylight Saving Time 2 lesson plan includes
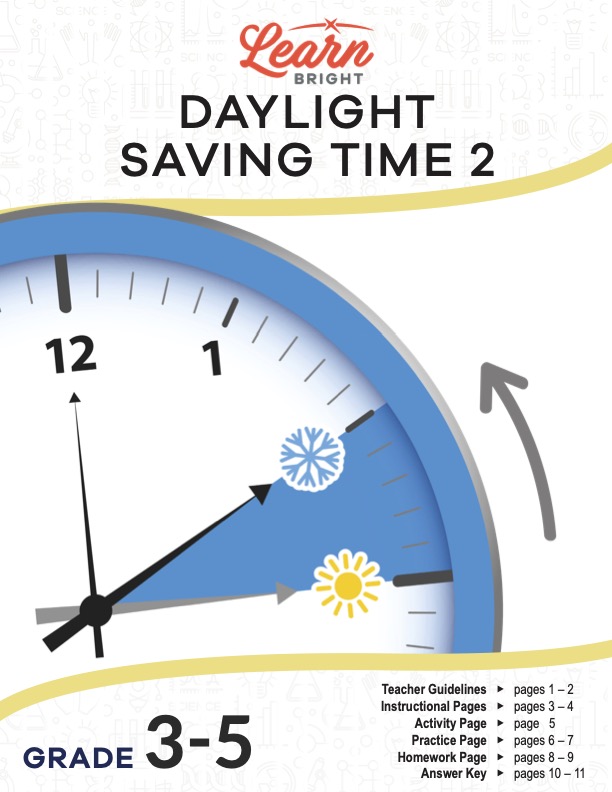
Lesson Objectives and Overview: Daylight Saving Time 2 explores the origin and practice of turning clocks forward and backward. Students will learn why people practice DST and discover that some places choose not to. The will also learn how to define and explain the concept to others. This lesson is for students in 3rd grade, 4th grade, and 5th grade.
Classroom Procedure
Every lesson plan provides you with a classroom procedure page that outlines a step-by-step guide to follow. You do not have to follow the guide exactly. The guide helps you organize the lesson and details when to hand out worksheets. It also lists information in the yellow box that you might find useful. You will find the lesson objectives, state standards, and number of class sessions the lesson should take to complete in this area. In addition, it describes the supplies you will need as well as what and how you need to prepare beforehand. This lesson will require markers, clocks, and access to the internet.
Options for Lesson
The “Options for Lesson” section of the classroom procedure page lists a few extra suggestions for ideas or activities you can add to the lesson. As an introduction to the lesson, have students research and discuss the history and reason for DST. Students could also interview family members or other adults and conduct a survey to find how many people like or dislike daylight saving time. One more idea is to teach this lesson in conjunction with a graphing math lesson to integrate the math and science subjects.
Teacher Notes
The paragraph on this page gives you a little more information on the lesson overall and describes what you may want to focus your teaching on. The blank lines are available for you to write out any thoughts or ideas you have as you prepare.
DAYLIGHT SAVING TIME 2 LESSON PLAN CONTENT PAGES
Why Have DST?
The Daylight Saving Time 2 lesson plan has two pages of content. Daylight saving time refers to the two times of year that we move our clocks forward or backward by an hour. We turns clocks forward or backward an hour to allow the day to have more sunlight in the evening and less in the morning. In the spring, clocks go forward, and in the fall, we move them backward. To make this easy to remember, we say, “Spring forward, fall backward.”
Clocks move forward an hour in the spring on the second Sunday in March each year. They move backward in the fall on the first Sunday in November. Officially, they move at 2:00 a.m., but most people adjust their own clocks the night before going to bed. These days, the clocks on our cell phones and other computerized devices changed automatically while we sleep.
A lot of people believe daylight saving time (DST) was developed so that farmers had extra daylight to gather crops. However, this is not true. In fact, most farmers don’t like DST because it changes their harvest schedule. The real reason behind its development was to conserve energy. People wanted to shift the daylight hours so that most of it would happen while people were awake.
Origin of Daylight Saving Time
Students will discover that most studies show that DST does not actually save on energy costs. In some places, it actually increases costs because having more daylight means people in hot areas run their air conditioners for extended periods. Other people say it gives kids more time to play outside. Not all states in the U.S. practice daylight saving time. Hawaii and Arizona chose not to use it, so they remain on the standard time all year around. But there are over a dozen other countries that do use it.
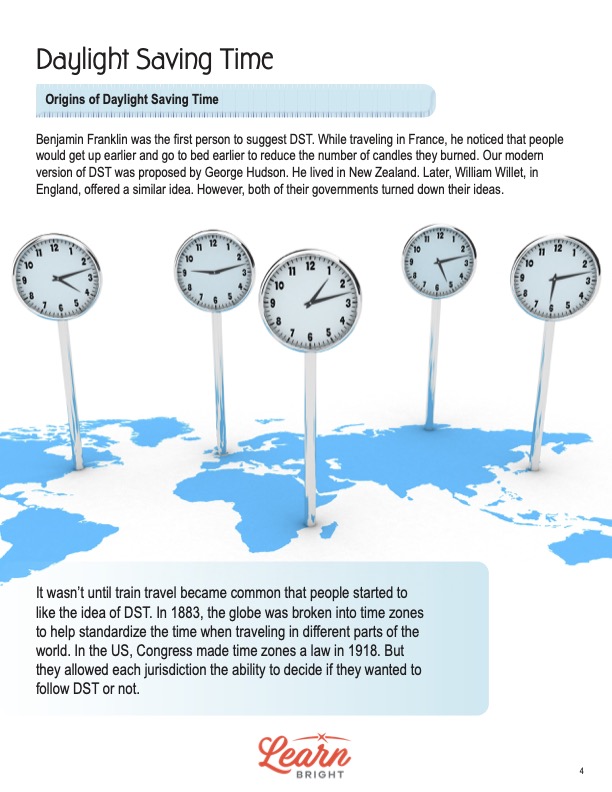
Benjamin Franklin was among the first to suggest the country use DST. While traveling in France, he noticed that people would get up earlier in the day and go to bed earlier to reduce the number of candles they burned. A man named George Hudson in New Zealand was the one to propose our modern version of DST. William Willet in England offered a similar idea. Both their governments, however, turned down their ideas.
Once train travel became common, people started to like the idea of daylight saving time. In 1883, the globe was broken down into time zones to help standardize times when traveling in other parts of the world. In the United States, Congress made time zones a law, but they allowed each jurisdiction to decided whether or not to follow DST.
DAYLIGHT SAVING TIME 2 LESSON PLAN WORKSHEETS
The Daylight Saving Time 2 lesson plan includes three worksheets: an activity worksheet, a practice worksheet, and a homework assignment. Each one will help students solidify their grasp of the material they learned throughout the lesson. You can refer to the classroom procedure guidelines to know when to hand out each worksheet.
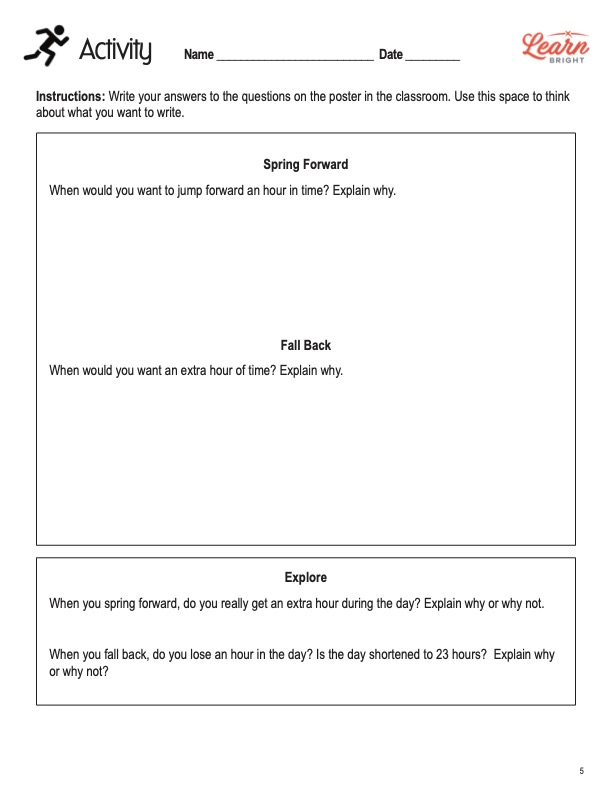
DAYLIGHT SAVING TIME 2 ACTIVITY WORKSHEET
You will first hang two large posters around the room. Students will write their answers to questions from the worksheet. They will first record what they want to write about on the worksheet before transferring it to the posters. The students will work individually at the start, but the whole class will discuss the answers to the worksheet questions together.
DST GRAPH PRACTICE WORKSHEET
Each student will write on the board whether or not they like daylight saving time. Students will then record the tallies on their individual worksheets and create a graph that displays the data for the class. You can review their work after everyone completes the assignment.
CHANGE THE CLOCKS HOMEWORK ASSIGNMENT
For the homework assignment, students will write the new times on nine clocks for the two worksheet pages. The first page represents times after turning clocks ahead an hour. The other requires students to show times when turning back the clocks one hour.
Worksheet Answer Keys
The lesson plan document provides answer keys for the practice and homework worksheets. All the correct answers are in red to make it easy for you to compare them to your students’ work. Given the nature of the practice worksheet, answers will vary. However, students’ responses should mirror the answers on the homework answer key exactly. If you choose to administer the lesson pages to your students via PDF, you will need to save a new file that omits these pages. Otherwise, you can simply print out the applicable pages and keep these as reference for yourself when grading assignments.


