

Description
What our Comparing Money Amounts lesson plan includes
Lesson Objectives and Overview: Comparing Money Amounts teaches students how to compare and understand different money amounts. At the end of the lesson, students will be able to compare money amounts using inequality symbols. This lesson is for students in 1st grade and 2nd grade.
Classroom Procedure
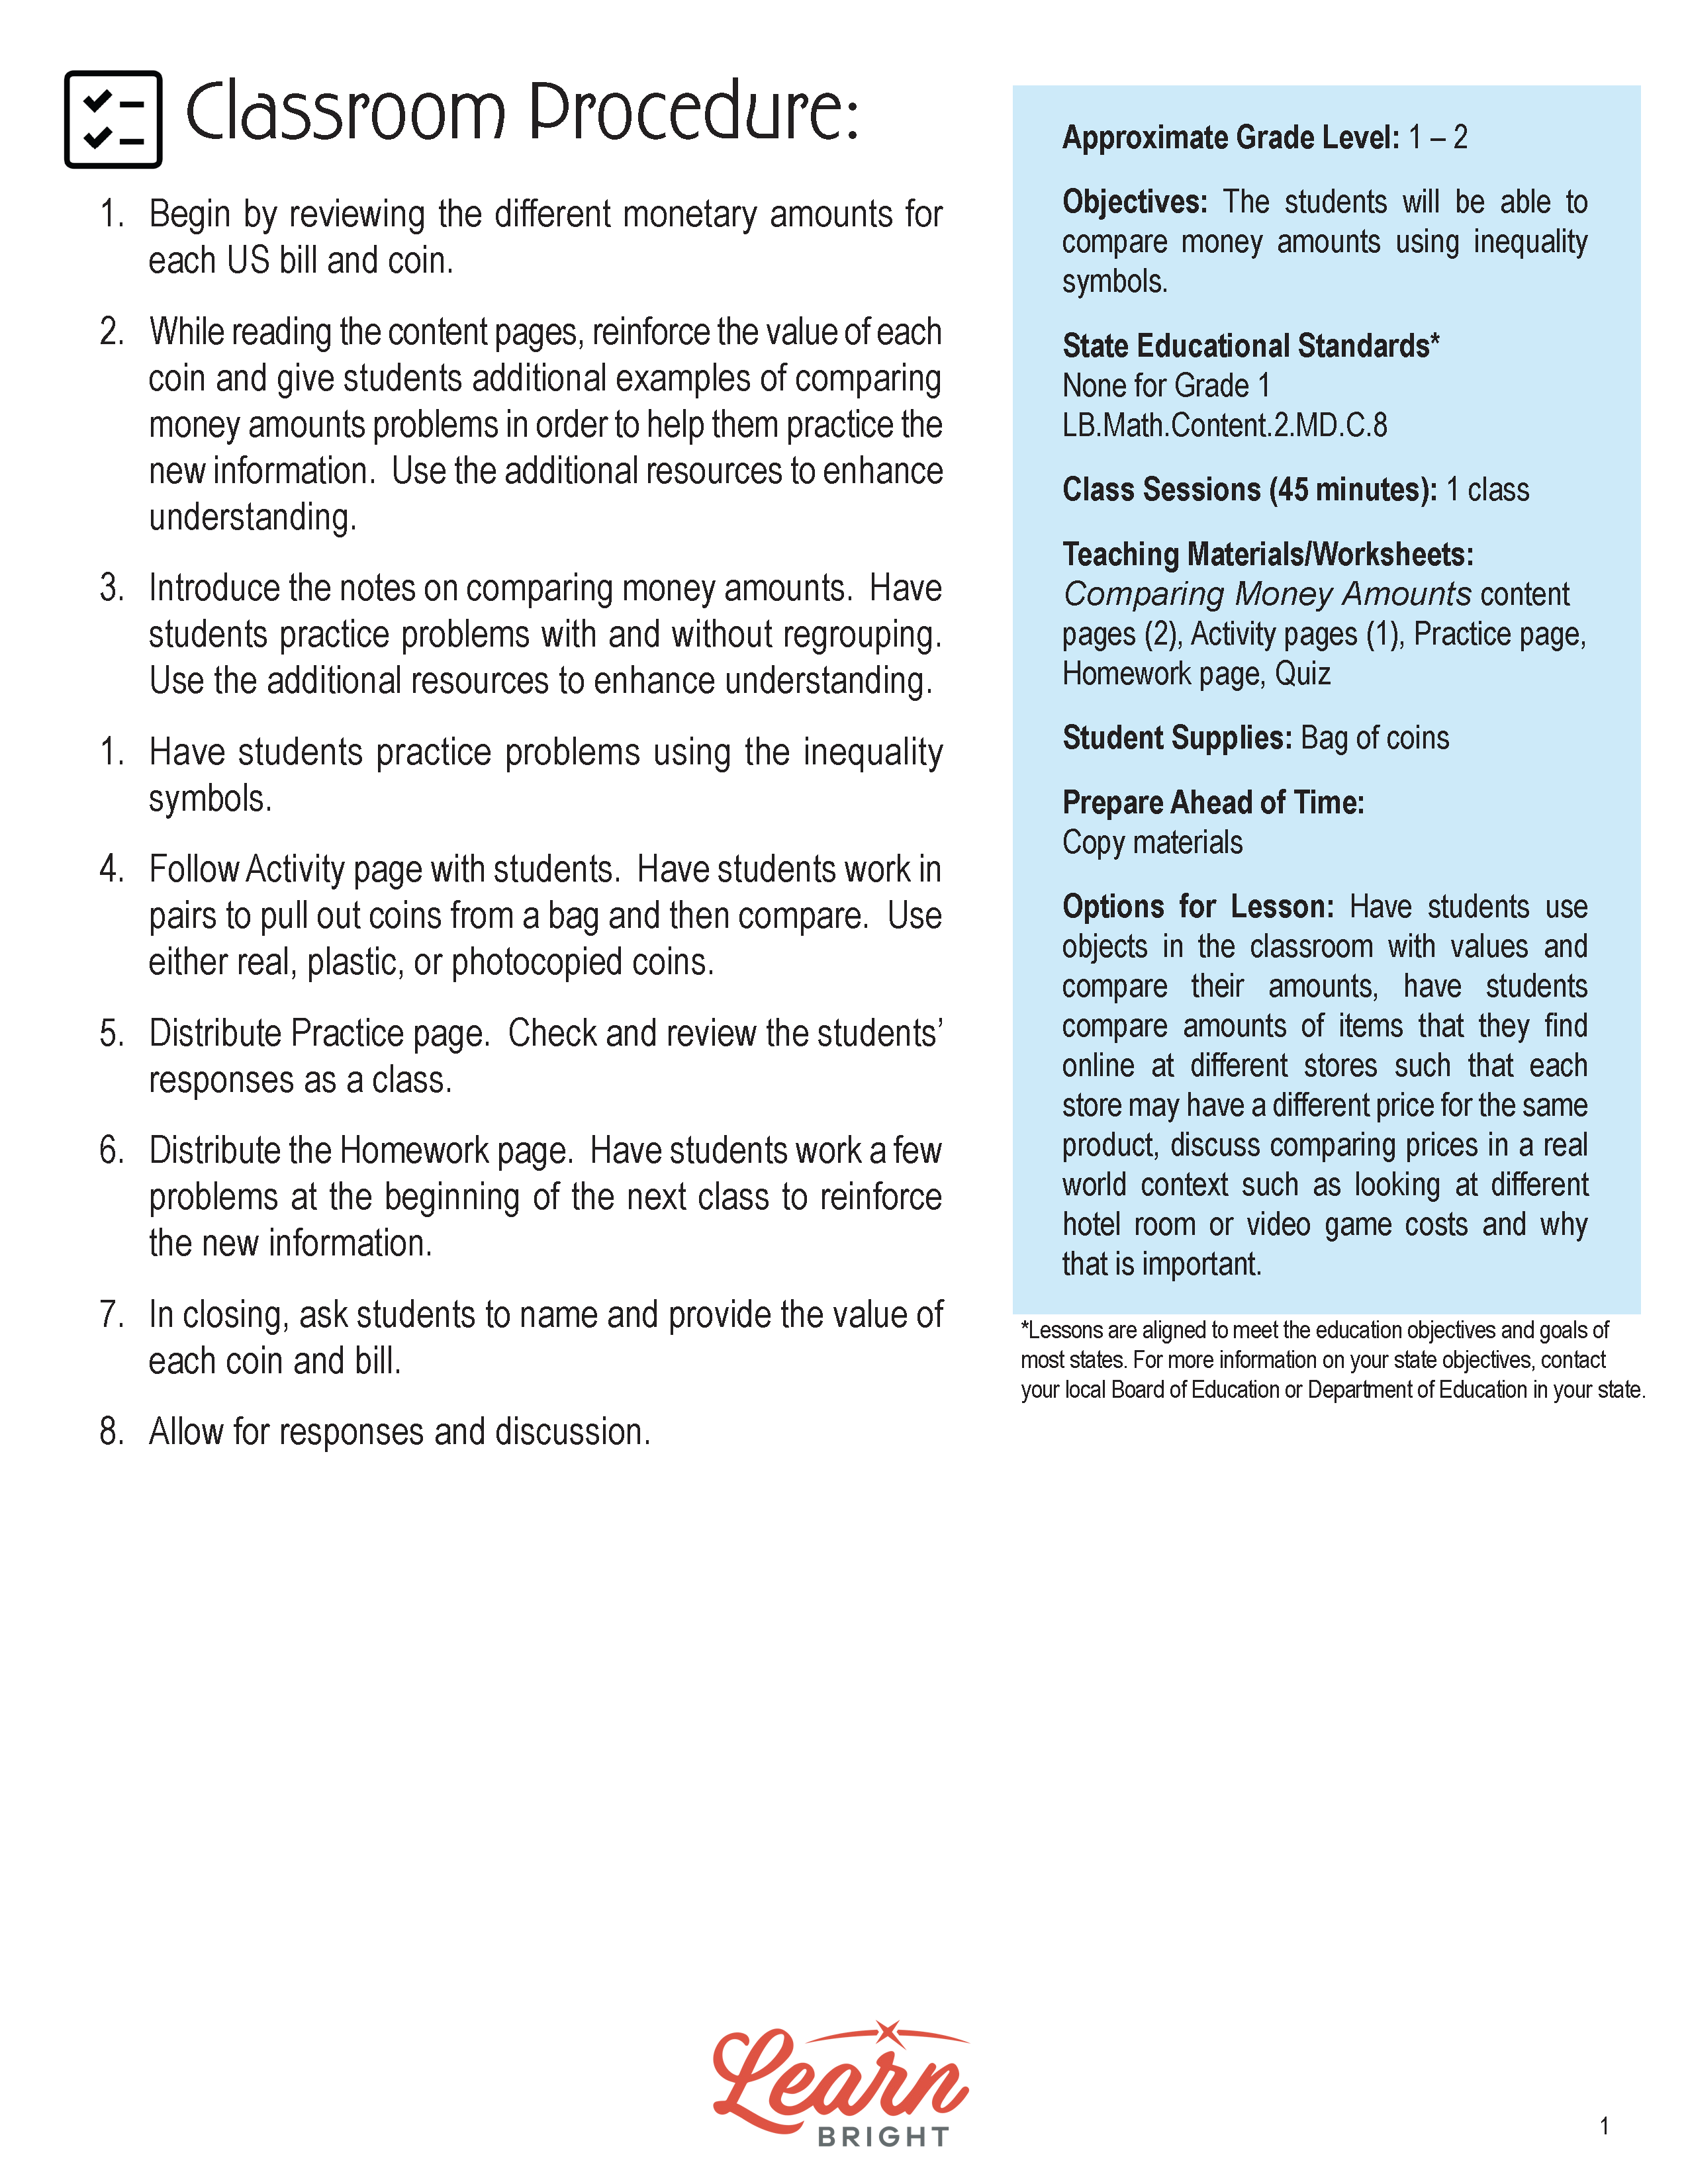
Every lesson plan provides you with a classroom procedure page that outlines a step-by-step guide to follow. You do not have to follow the guide exactly. The guide helps you organize the lesson and details when to hand out worksheets. It also lists information in the blue box that you might find useful. You will find the lesson objectives, state standards, and number of class sessions the lesson should take to complete in this area. In addition, it describes the supplies you will need as well as what and how you need to prepare beforehand.
Options for Lesson
Included with this lesson is an “Options for Lesson” section that lists a number of suggestions for activities to add to the lesson or substitutions for the ones already in the lesson. One optional addition to this lesson is to have your students use objects in the classroom with values and compare their amounts. You could also have students compare amounts of items that they find online at different stores such that each store may have a different price for the same product. Finally, you can discuss comparing prices in a real world context such as looking at different hotel rooms or video game costs and why that is important.
Teacher Notes
The teacher notes page includes a paragraph with additional guidelines and things to think about as you begin to plan your lesson. This page also includes lines that you can use to add your own notes as you’re preparing for this lesson.
COMPARING MONEY AMOUNTS LESSON PLAN CONTENT PAGES
Comparing Money Amounts
The Comparing Money Amounts lesson plan includes two pages of content. We use money every day to buy different things, like a candy bar or the electricity for your house. In the United States, our money has both bills and coins. Each of these bills and coins represent a different amount of money. The lesson includes a chart that shows how much each bill or coin is worth.
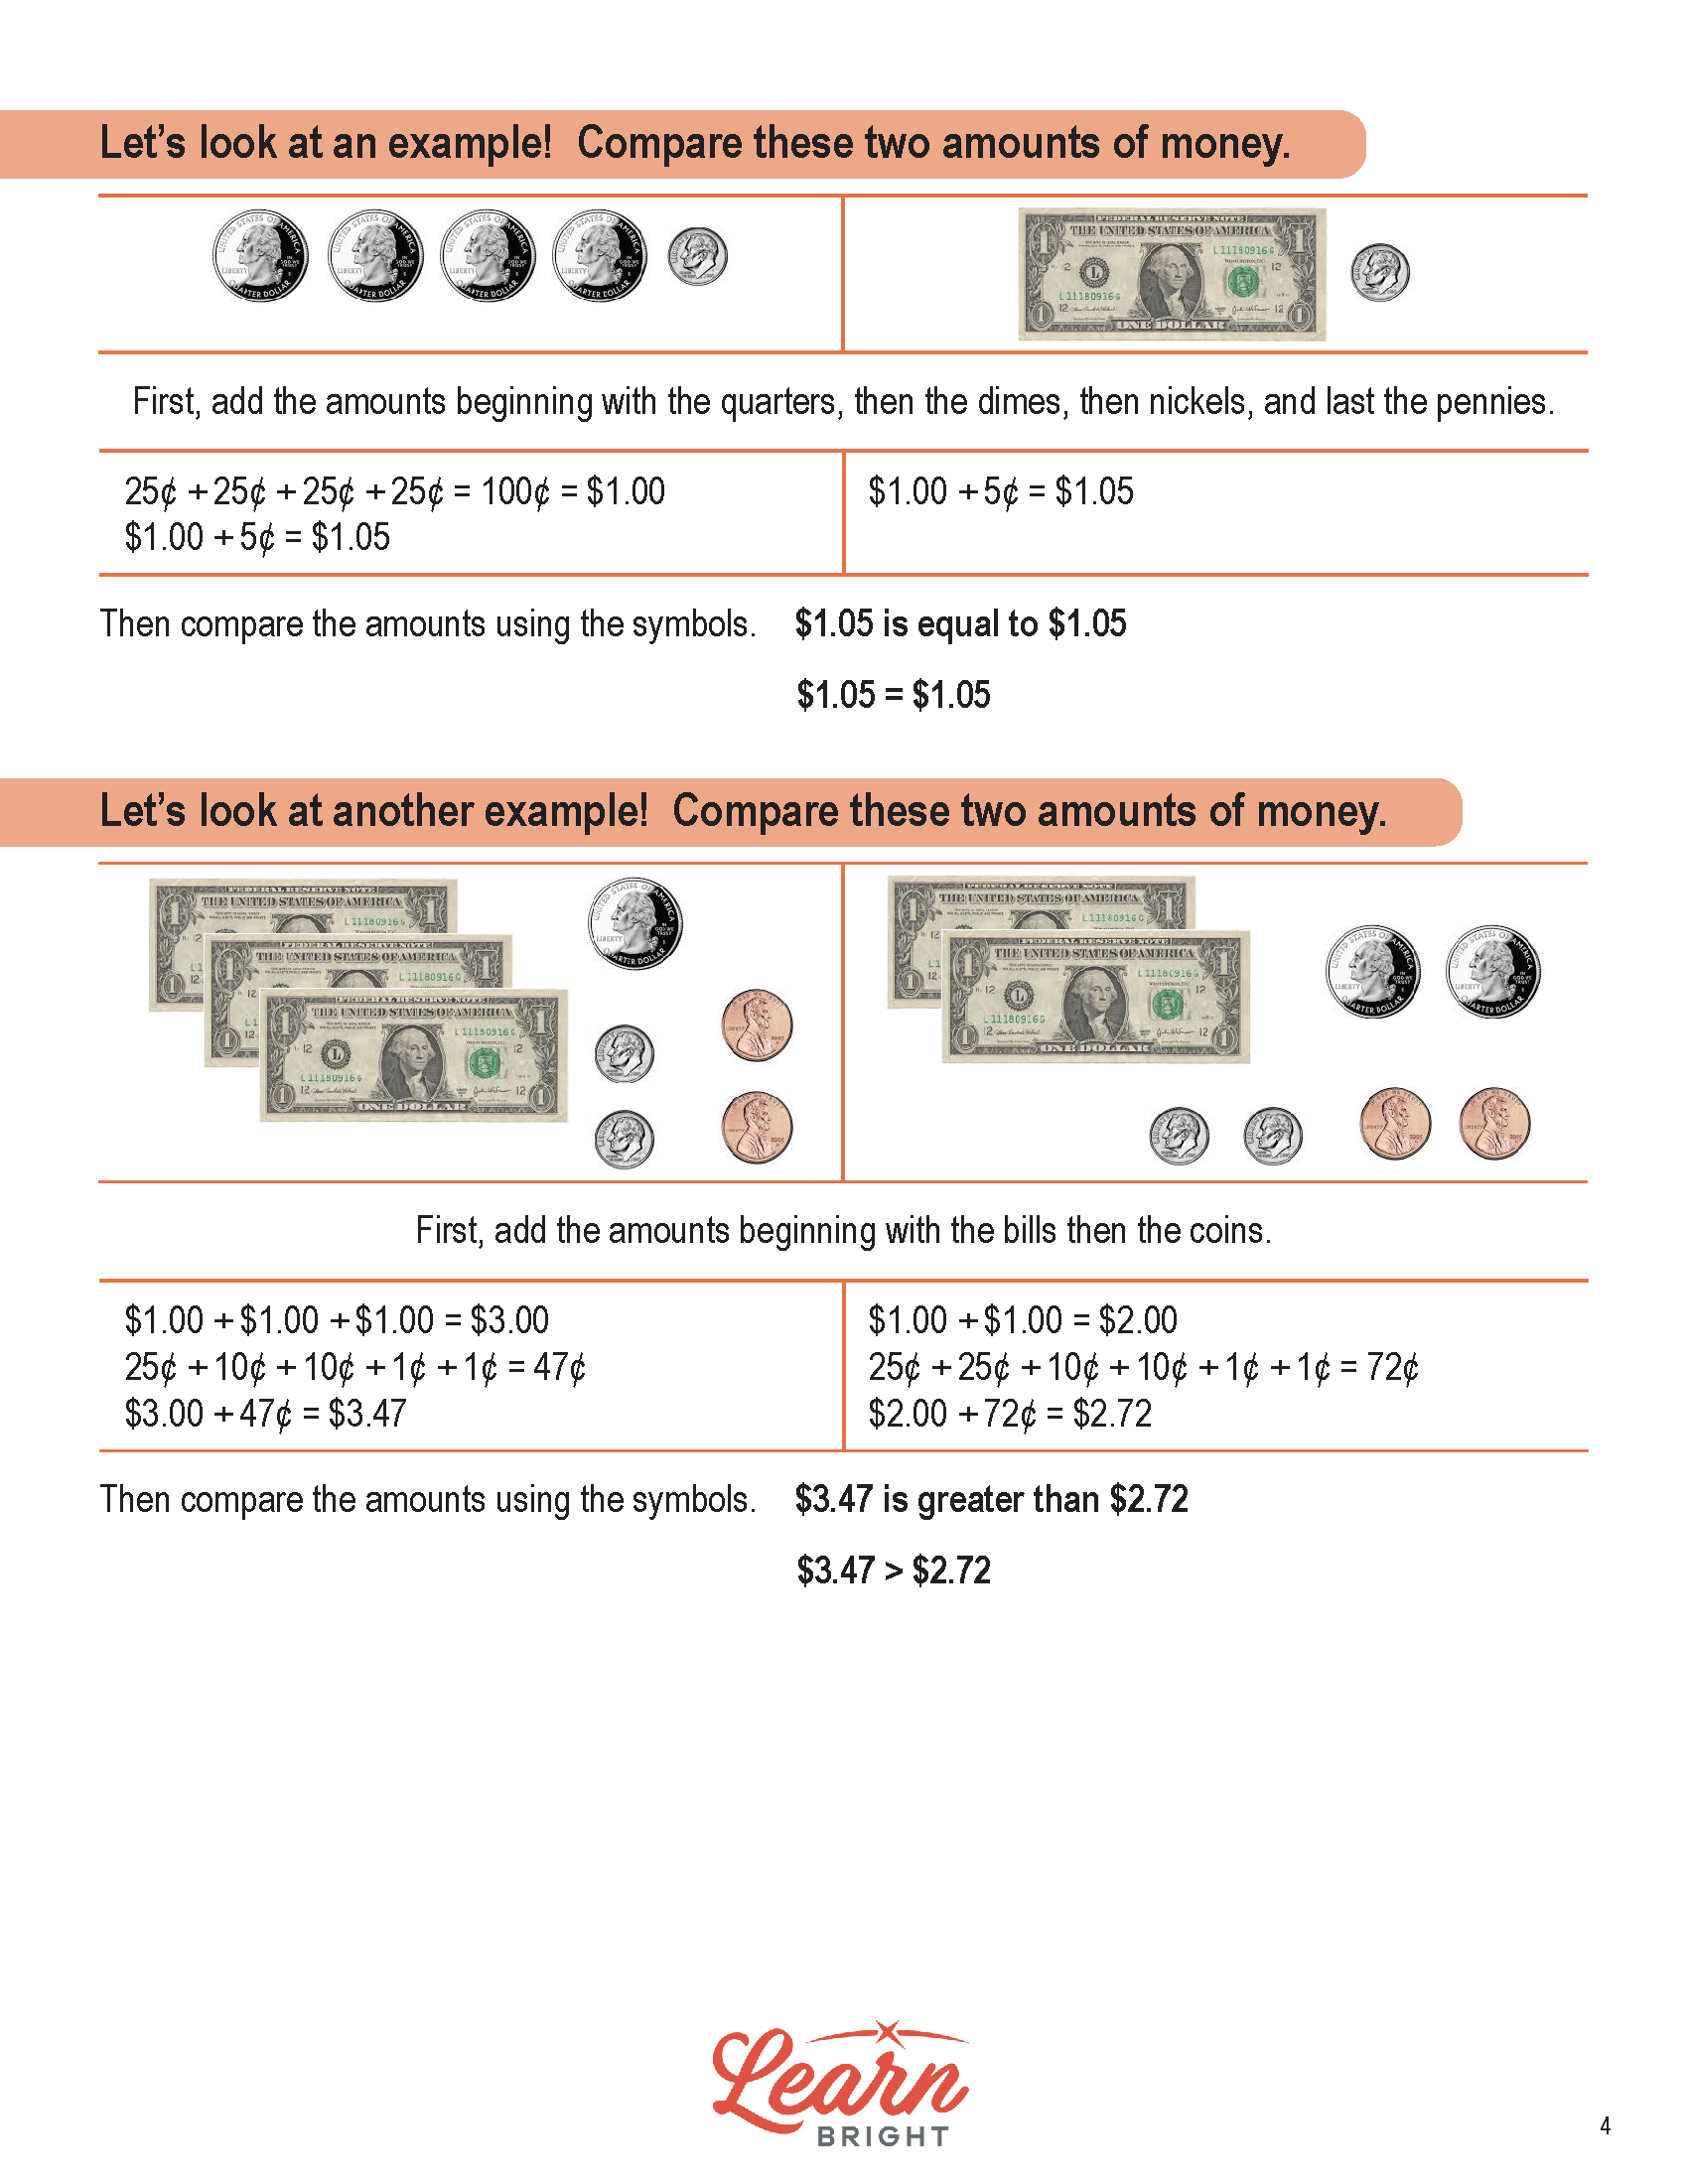
To compare money amounts, you need to find the total amount of money on each side using addition. You should start by counting the bills first and then the coins. After you find the sum on each side of the equation, you can compare them. We compare them using three different symbols > (greater than), < (less than), and = (equal to).
The lesson includes several examples that show pictures of bills and coins and walks students through how to add each side and compare.
COMPARING MONEY AMOUNTS LESSON PLAN WORKSHEETS
The Comparing Money Amounts lesson plan includes four worksheets: an activity worksheet, a practice worksheet, a homework assignment, and a quiz. You can refer to the guide on the classroom procedure page to determine when to hand out each worksheet.
COINS ACTIVITY WORKSHEET
For the activity worksheet, students will pull different numbers of coins out of a bag and then compare them.
ADDING PRACTICE WORKSHEET
The practice worksheet asks students to add the value of different coins and bills together and then compare them using the <, >, or = symbols.
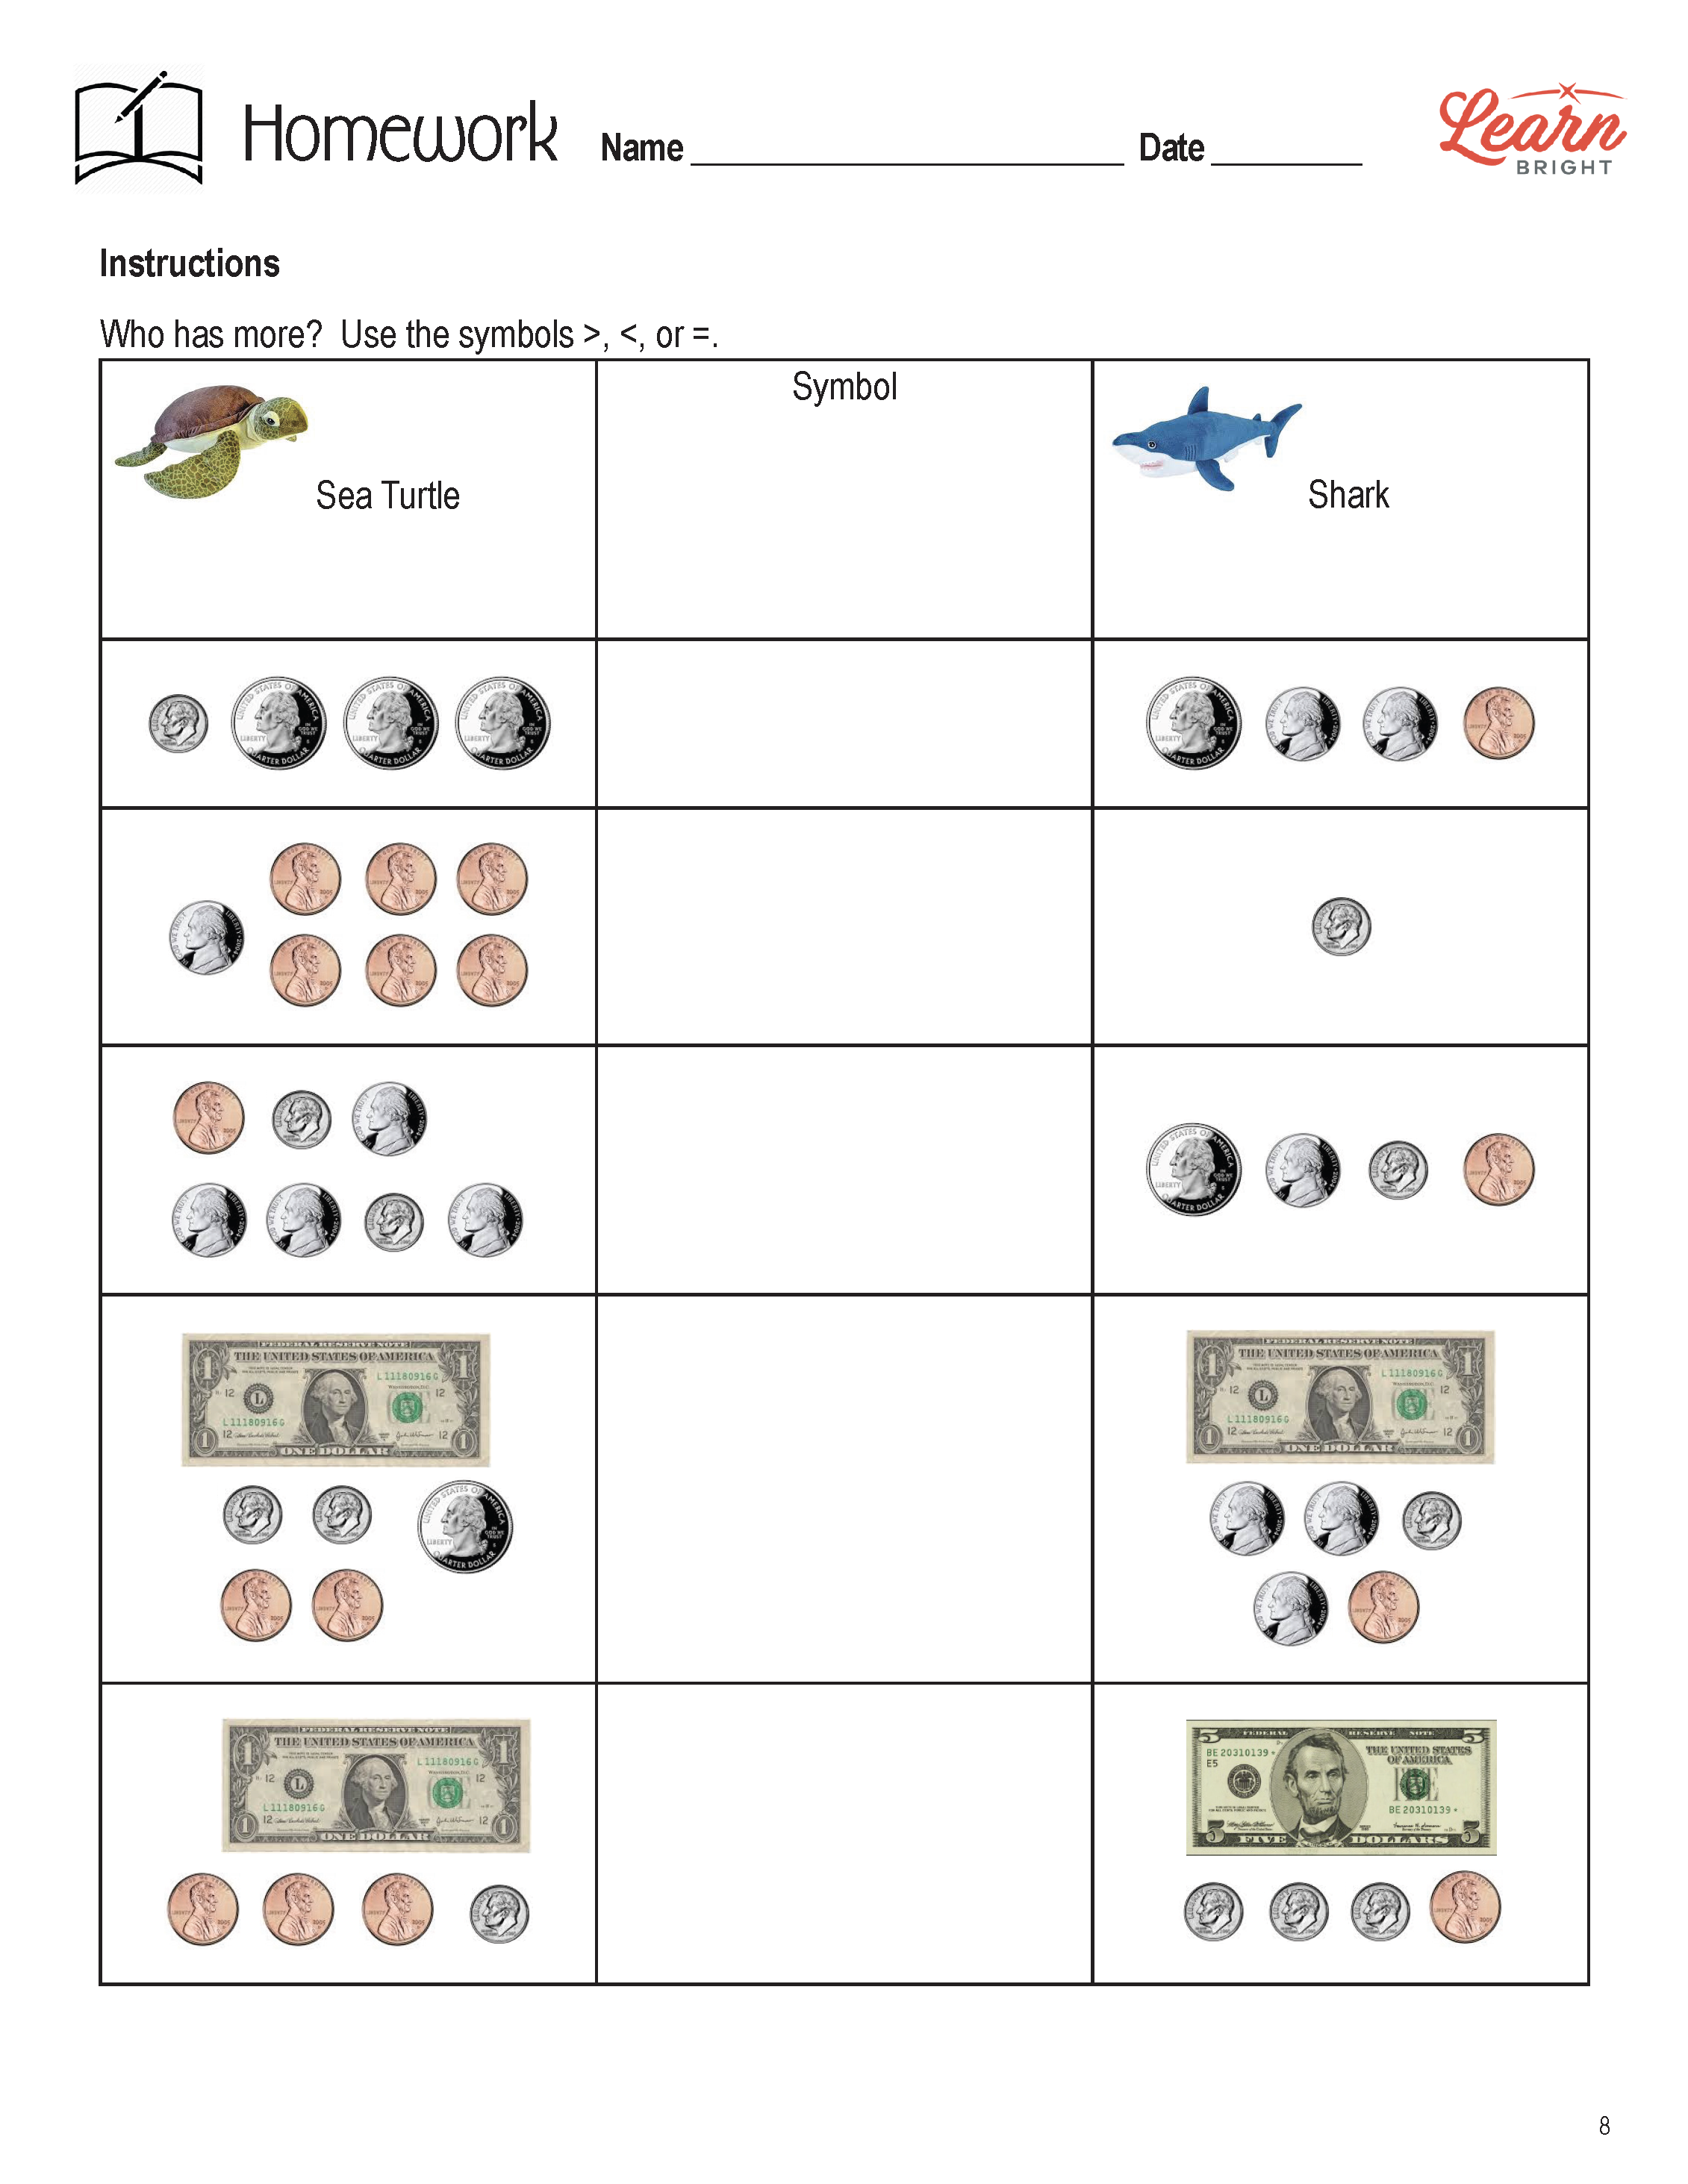
COMPARING MONEY AMOUNTS HOMEWORK ASSIGNMENT
Like the practice worksheet, for the homework assignment, students will add the value of different coins and bills together and then compare them using the <, >, or = symbols.
QUIZ
This lesson also includes a quiz that you can use to test students’ understanding of the lesson material. For the quiz, students will look at pictures of money and write down the value of the money. They will also add the value of different coins together and then compare them using the <, >, or = symbols.
Worksheet Answer Keys
This lesson plan includes answer keys for the practice worksheet, the homework assignment, and the quiz. If you choose to administer the lesson pages to your students via PDF, you will need to save a new file that omits these pages. Otherwise, you can simply print out the applicable pages and keep these as reference for yourself when grading assignments.


